home icon Help Home

eTime Help

Below are the basic instructions to get you up and running with eTime. If you would like to read more about each action, click on the blue title name and you'll be taken to a page with detailed information.

Adding Time


  1. Choose a department from the dropdown.
          - If you only have one department, it will already be selected for you.
          - You can also choose a default department in the Settings Tab.
  2. Choose the date you worked.
          - Some days may not be selected, please see Adding Time for more information.
  3. Choose the start time you worked.
          - The start time is based off of the current time.
          - You can change a default start time to a specific hour in the Settings Tab.
  4. Choose the ending time of your shift.
          - You will be limited as to the number of hours you can work.
          - On the last day of the pay period, you cannot enter time past 12:00 AM. If you work past 12:00AM, you will need to choose 12AM as the starting hour when the next time period begins.
  5. Click Add Entry to save the hours.

Sign Time


  1. Select the entries you want to sign (or to select all, click on the All button next to select).
  2. The row(s) that you select will be highlighted.
  3. Click Sign.
  4. A screen will pop up with random letters and numbers. By entering them into the textbox below the text, you are indicating that the time you are submitting is correct.
  5. Clicking on Sign will sign those selected entries.
  6. Depending on your university, you may or may not be able to delete signed time.
  7. Sometimes your timekeeper may add time; you must sign your time to be paid. Even if your timekeeper approved the hours, you still MUST sign your time.

Copying Time

  1. Enter the first day's hours that you worked.
  2. Select the entry, then click Copy.
  3. Select the other days of the week that you will be working.

  4. Click Copy.

Deleting Time

  1. Select the entries you wish to delete.
  2. Click Delete.
           
          - Should you accidently delete an entry you didn't want to, you'll have one minute to Undo the deletion.


Printing my current timesheet

  1. Enter and sign all your time.
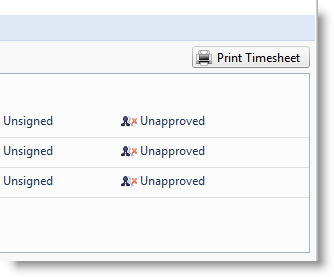
  2. On the right hand page of the page, click Print Timesheet.
  3. If the dropdown selected is "Current Time Entry Period & All Unsigned Time" then the screen will auto select the next entry in the dropdown list which, typically, will be the current pay period (unless you have not entered any time, then it will be the previous pay period you entered time.) Otherwise it will print whichever pay period you selected in the dropdown.
  4. Choose your printer, and you're done.

Viewing Past Timesheets

  1. Select the pay period from the dropdown.
          - Note: Only time periods which time was entered will be displayed.


My Settings

  1. Update the settings to the values you wish, and then click Save Settings.