We have designed our mobile eTime website for a wide range of mobile devices. You can save this website to your smart phone by adding it as a bookmark. Then you can easily access it by selecting it from your favorite bookmarks.
-
Logging In
Homepage
- After you log in, you'll see a screen similar to this. If there are important
messages, they are displayed at the top.

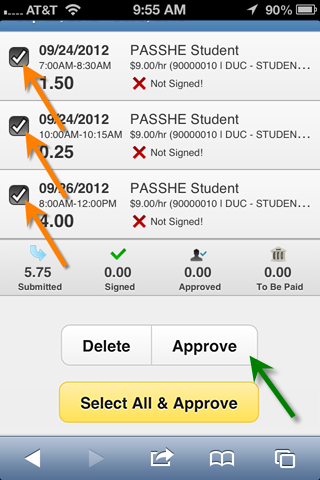
Student Timesheets
- Whether you click on a student under the "Unapproved Time" or "Active Students"
section, it will always display by default All Unapproved Time and the Current Pay
Period.
If there is unapproved time in a department you work in, it will display
checkboxes next to each unapproved entry.
All past pay periods which the students has time entered can be viewed as well (but
no actions can be taken on past timesheets).

Approve Time
- To approve time, select the entries you want to approve, then select the Approve
button.
NOTE: There is no warning, or popup to verify that you want to complete this
action, be careful when tapping, as to not accidently approve time you didn't want
to approve.
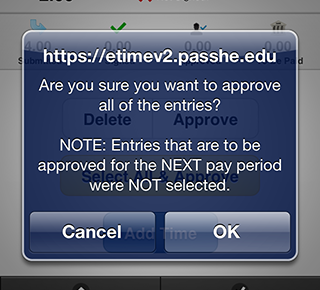
Approve All Time
- To approve all time, select the Select All & Approve button. It will
verify that you meant to click this button to approve all time. Click OK
to continue and approve all time.
- NOTE: On the Saturday, Sunday, and Monday of a new pay period, the system
will NOT auto-select entries that are to be approved for the next pay period.
The popup message will confirm that you want to approve only the selected entries.
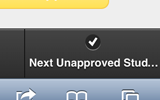
- When you have finished approving all the time for the student, click the button,
Next Unapproved Student - <STUDENT NAME>, at the bottom, which will
take you to the next student with unapproved time.
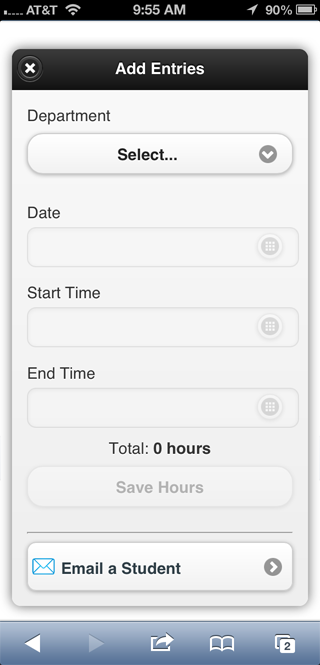
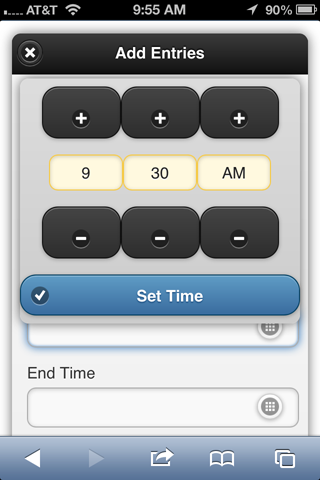
Add Time
- To add time, click the Add Time button. Once selected, a new page will popup
which looks like this:
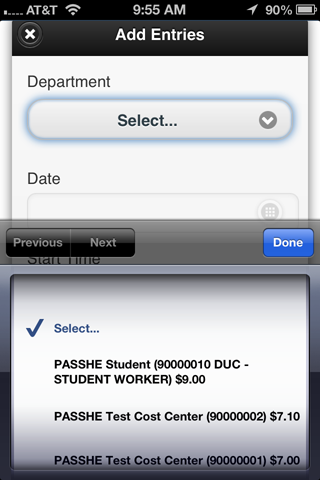
- Choose a department:
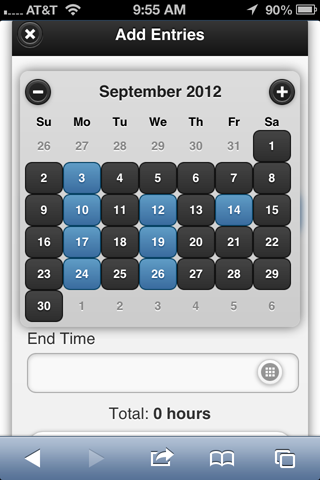
- Select the date from the calendar that is displayed. You will notice that as you
enter time some days will be colored blue. Those days are days you have already
entered time in. This should assist you as you enter your time to know what days
you have already entered hours.
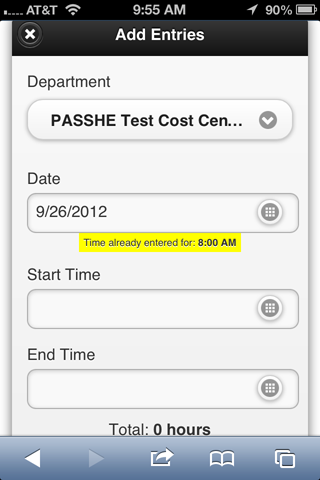
- Also, after you select a blue colored date, you will notice that in yellow, below
the date, it will tell you the start time that was previously entered.
- Selecting the start and end times by using the plus and minus signs.
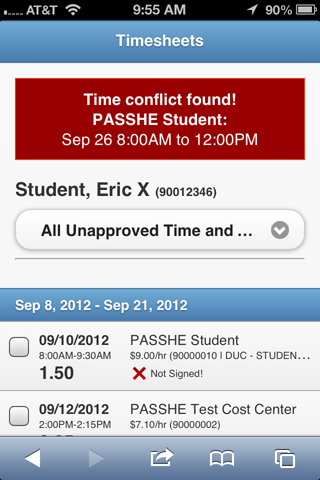
- Sample error message about a time conflict:
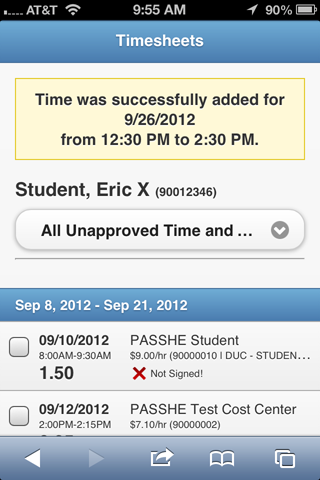
- Entry was successful!
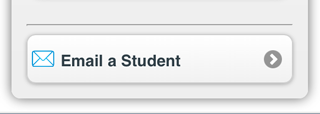
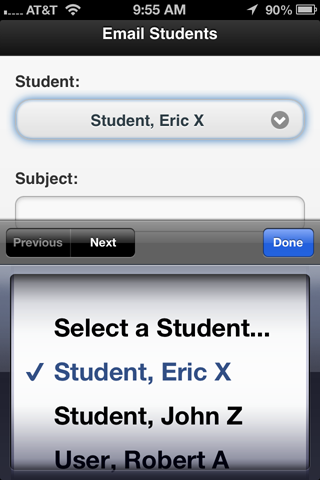
Email Students
- You'll find the button to email students on the Add Time screen.
- By default it will select the student that you were currently viewing to email.
If you wish to change to a different student to email, you can as well, by selecting
the student from the dropdown.
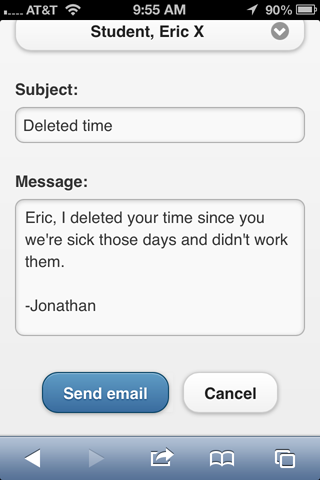
- Enter a subject, your message, and send your message to your student.
|