We have designed our mobile eTime website for a wide range of mobile devices. You can save this website to your smart phone by adding it as a bookmark. Then you can easily access it by selecting it from your favorite bookmarks.
-
Logging In
Homepage
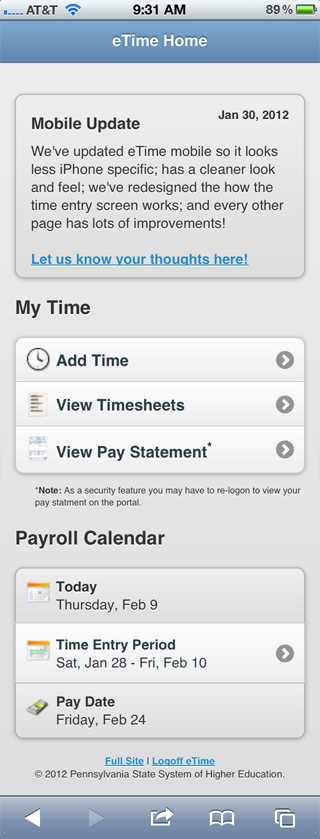
- After you login in, you'll see a screen similar to this. If there are important
messages, they are displayed at the top.
Add Time
- Adding time has the same fields as the regular eTime. We’ll walk through the steps
in the images below:

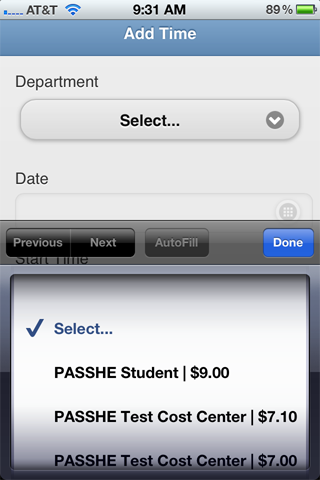
- Choosing a department:
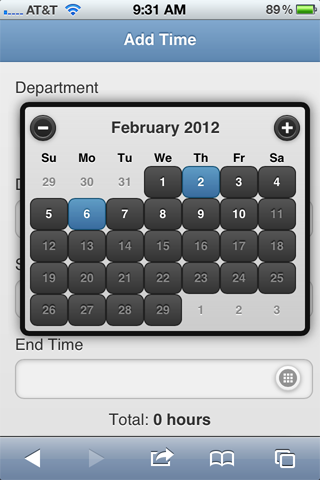
- Select the date from the calendar that is displayed. You will notice that as you
enter time some days will be colored blue. Those days are days you have already
entered time in. This should assist you as you enter your time to know what days
you have already entered hours.
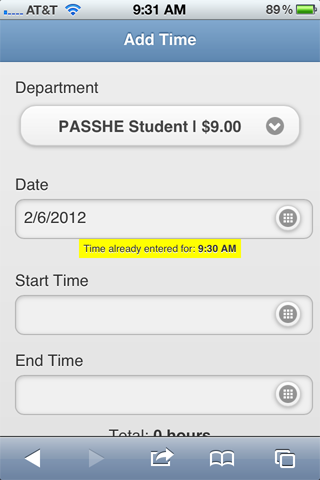
- Also, after you select a blue colored date, you will notice that in yellow, below
the date, it will tell you the start time that was previously entered.
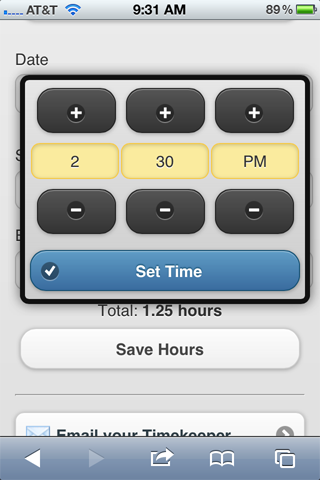
- Selecting the start and end times by using the plus and minus signs.
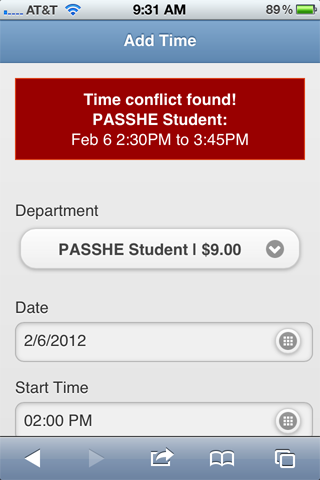
- Sample error message about a time conflict:
- Entry was successful!

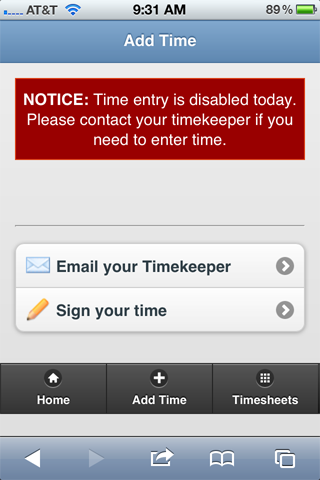
- If Time Entry is disabled, the following error message displays:
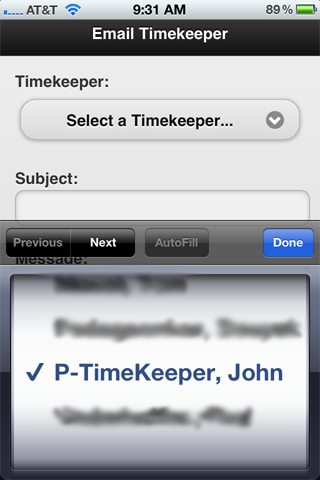
Email Timekeepers
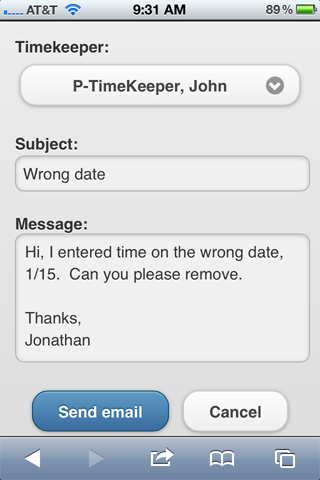
- You can now email your timekeepers right from the mobile eTime site. First select
the timekeeper you wish to send a message to.
- Enter a subject, your message, and send your message to your timekeeper. The message
is automatically sent from your school email address. If your timekeeper replies
it will be to that address.
Timesheets
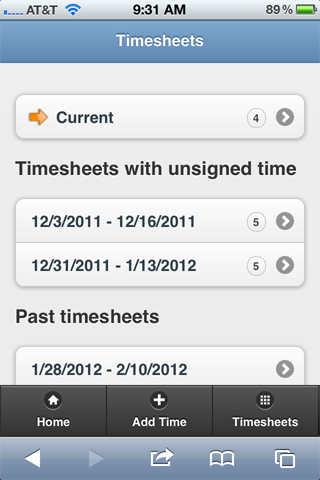
- The top will always contain the current timesheet. The number to
the right tells you the number of unsigned entries that are waiting to be signed.
If you have time in other pay periods which haven’t been signed, they are showed
beneath the current with the number of unsigned entries sill needing to be signed.
All past pay periods which you have time entered can be viewed as well.
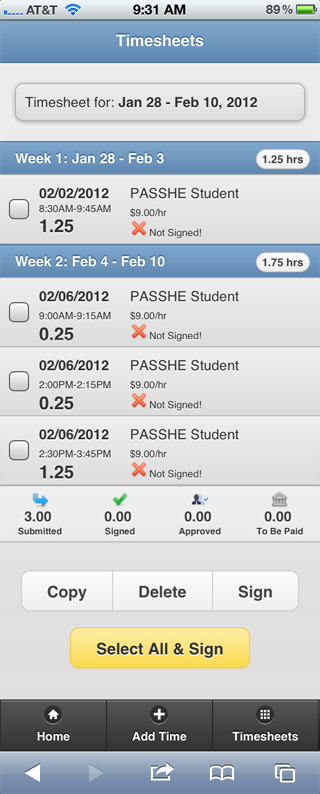
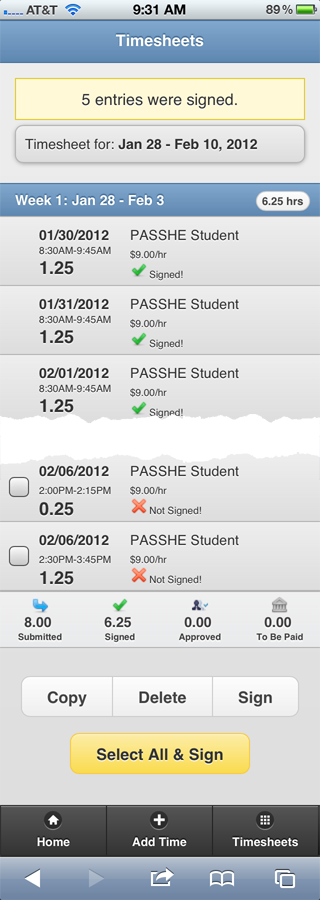
- When you click on a timesheet you will be taken to a screen similar to this one.
It displays all your time separated by week. When you are ready to sign your time,
the simplest method is to click the Select All & Sign button.
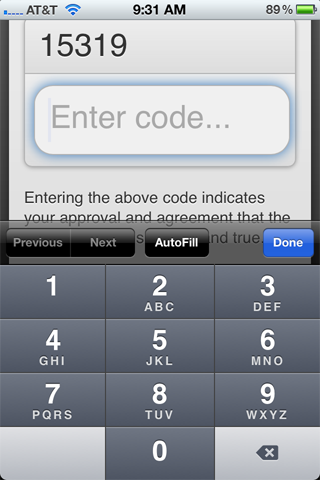
- As with the regular eTime, they must enter a special code that signifies your signature.
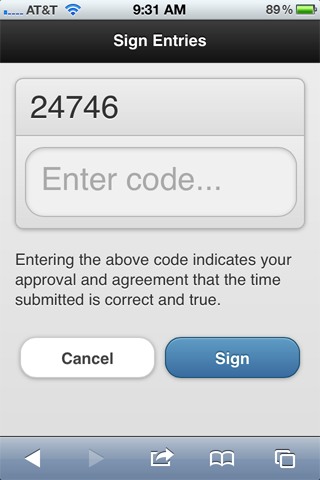
- To keep things simple and easier to sign only numbers will be required for signing
entries. When you click in the box Enter Code, a number pad comes up, and
you can easily tap the numbers and then click the Sign button.
- The entry was signed!
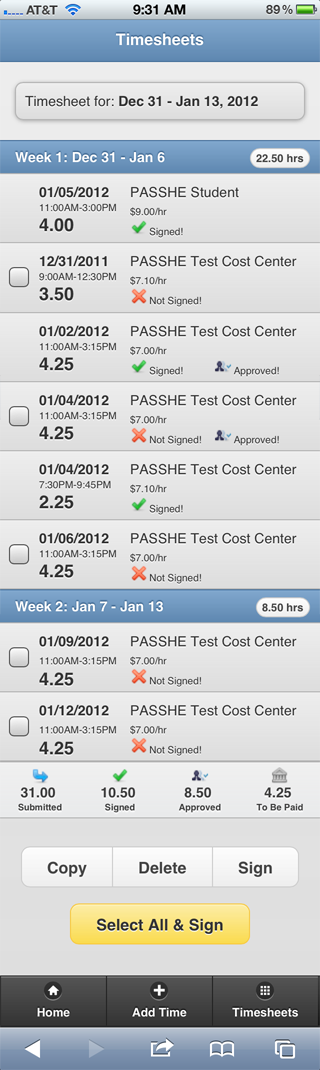
- Here is a view of an older timesheet with many entries, some approved, some signed,
some neither.
Copy Time
- There are 2 ways to copy time.
- The first and easiest is to click Copy this time after entering
time.
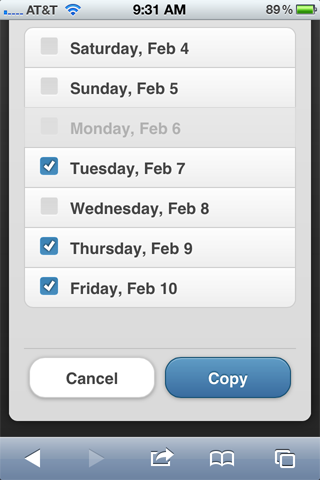
- Clicking on the link takes you to the timesheet screen, where it will automatically
select and gray out the date you just entered, and display the copy entry box.
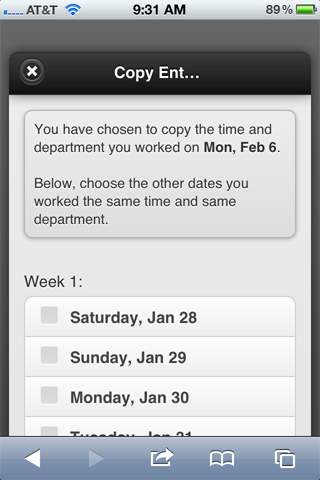
- Select the days you want the time/department copied to and click Copy.
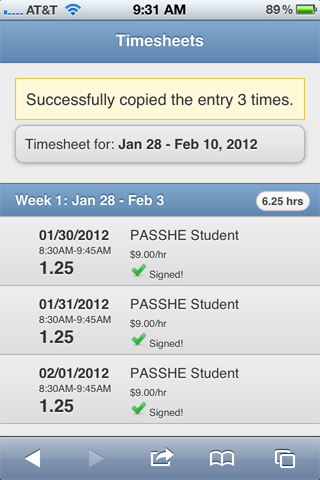
- If completely successful, you'll see the following message...
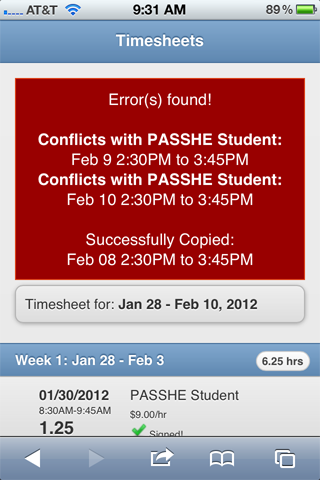
- ...if there are conflicts, or you went over the maximum number of hours for the
day/week, you'll see a summary error message will all the problems.
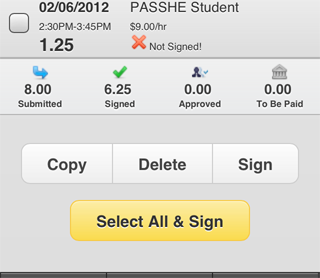
- The second way to copy entries is to select the entry you want to copy and then
select the Copy button at the bottom of the timesheet screen.
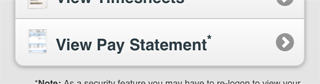
Pay Statement
- To view the pay statement, click on View Pay Statement on the homepage of
mobile eTime.
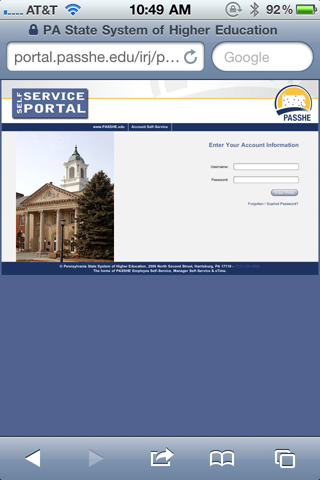
- You may be asked to logon, via the portal screen.
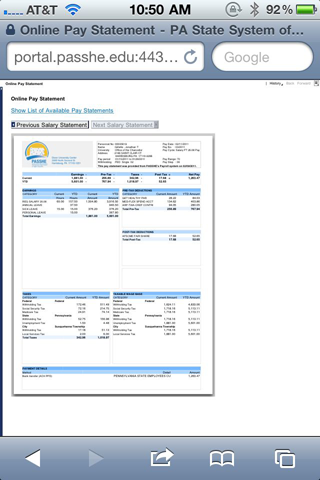
- The next screen displayed, after successfully logging in, will be your pay statement.
|